You may have noticed, if you’re doing the photo a day challenge, that perspective is prompt number 29 on the list. And didn’t I pick a hard one to teach you? The answer is yes.
Perspective is easier to do than it is to explain. I used to study art, and it was my favourite subject. Using perspective was a great way to give an artwork depth. I loved using it. But how does that translate in photography?
Perspective in photography is giving a two-dimensional image a sense of depth or a sense of scale. This is the traditional definition. So let’s explore that for a moment.
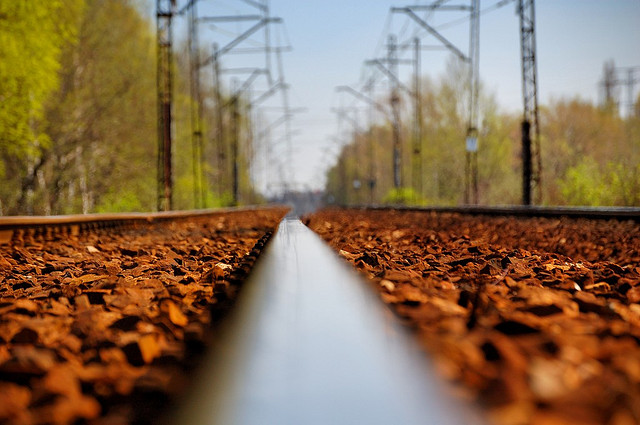
photo credit: miqul
See how the photo above uses the train tracks to show you depth in the photo? See how your eyes immediately go to the train tracks and follow them from the foreground of the image, right to the back. It’s giving the photo depth.
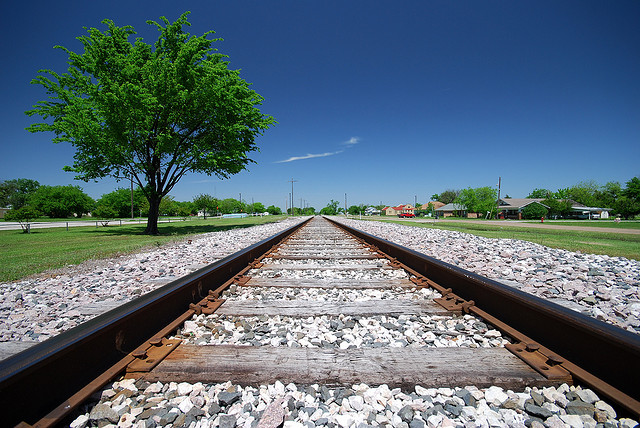
photo credit: Steve Webel
Here’s another example using train tracks again. Get the idea? You could do the same with a path or pavement. It does need to be something with lines {whether they’re hard like cement or just a basic dirt outline} so you can show depth. Get down low and discover perspective.
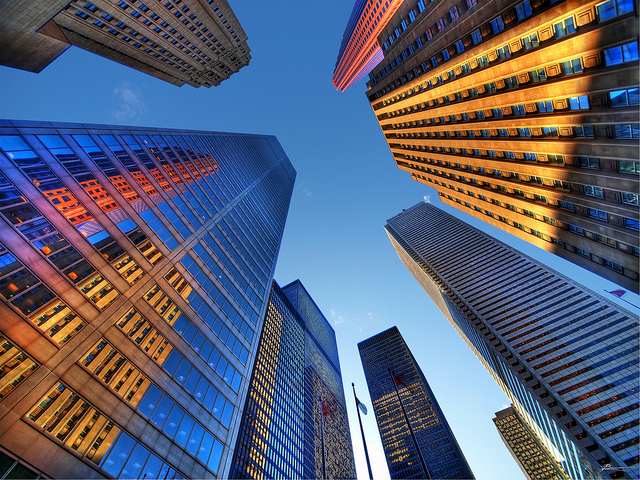
photo credit: paul bica
Here’s another example, not using train tracks {yay!}, but see how the photographer has framed the photograph to show depth by shooting up at the buildings. It can take a little practice, but move your phone/camera around and see how you can show depth and scale by using perspective.
You could even experiment on a tree. Get down on the ground with your camera and shoot close to the base of the tree looking up. It doesn’t need to be central in the photo, perhaps shoot the photo with the tree to the left and have the contrast of the blue sky against the trunk of the tree. You just have to think outside the square, normally we’d probably think to photograph the tree front on – but getting down and shooting it from the trunk up will deliver a different result.
Thinking of throwing the idea into the too hard basket? It’s OK. Let me share another way. Easier, and fun {funny too!}.
Let’s explore forced perspective. Let me just show you it in a few photos. You’ll get the idea.
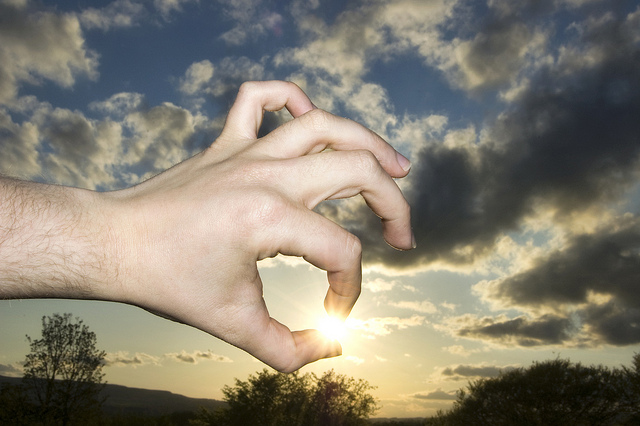
photo credit: tj.blackwell
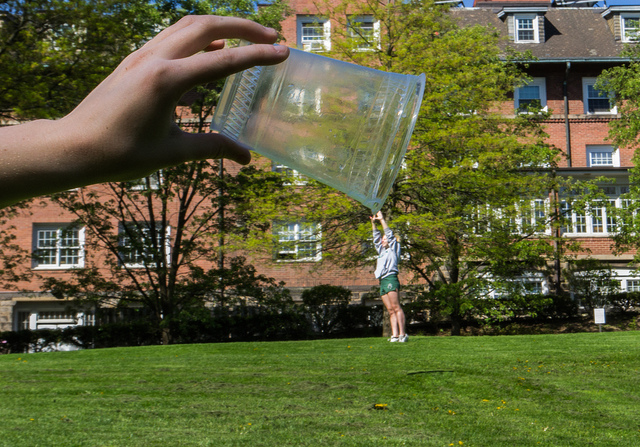
photo credit: Kenzie Saunders
From Wikipedia: Forced perspective is a technique that employs optical illusion to make an object appear farther away, closer, larger or smaller than it actually is.
So again, as you can see in the photos above, you’re giving the photo a bit of depth by playing around with the perspective. You might have seen people do this with photos of the Eiffel Tower. They have the Eiffel Tower in the back of the photo, and have their hand in the foreground as if they’re holding it in their hand and that the Eiffel Tower is in fact small {but it’s just an illusion}.
To acheive this type of photo you’ll need to have on part of the photo in the foreground and one part in the background. So your hand can be in the foreground, and an object you’re holding in the back.
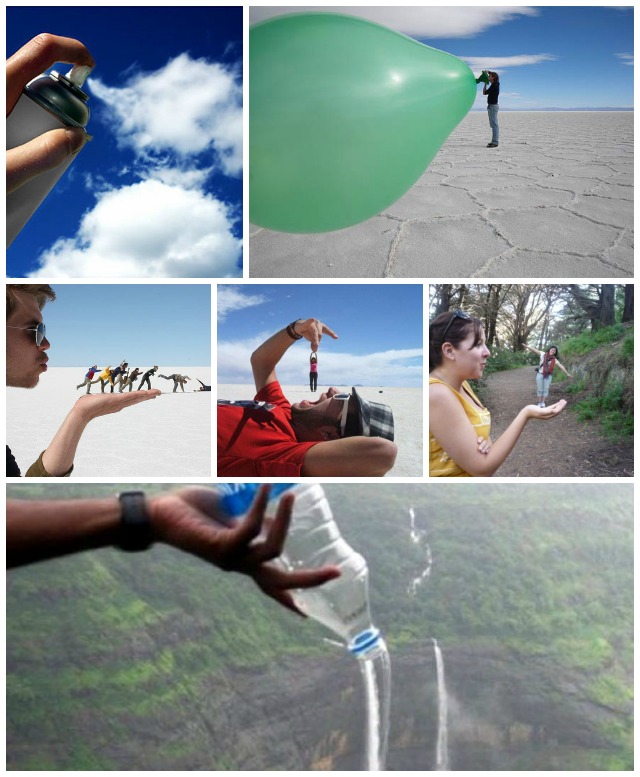
Other great forced perspective examples: spray can clouds, balloon, blowing people, eating people, holding a person, & waterfall.
You don’t have to achieve perfection on day 29, it’s just a fun way to experiment and try different things. At this stage I don’t know what on earth I’m going to shoot, but we have a few days to have a think about it. There are no hard and fast rules, interpret perspective as you will and play around. Have fun.


The forced perspective examples are pretty darn cool! I love the added challenge and look forward to seeing what everyone comes up with for that day!
I did a forced perspective unit with my class of 7-9 year olds they got some fantastic results….well worth a try!
I’m so excited to try this! It’s sooooo coooool looking!! 🙂 🙂 🙂
Looking forward to the 29th, thanks for sharing the above on perspective. Negative space was a new concept for me and I so enjoyed that. Learning to look at things differently, thank you.
I really love learning new things. Thank you.
Thank you so much for explaining, I enjoyed learning about negative space too. Thanks.
Thank you so much for explaining, i love learning new photography tips.
What a great way of explaining the way to shoot a photo of the word “perspective” – got me thinking about what i can do 🙂
Thanks for the great explanations and examples. Can’t wait to try it out.
This is so cool, I can’t wait for this one!
Great pictures and explation… Thanks for sharing
I love forced perspective! and I love everyone’s cheesy forced perspective holiday shots. We have ones of the Taj Mahal.
Looking forward to seeing everyone’s pics today
Thanks so much for the lesson!
Is this attainable on a smartphone