photo credit: {Lina}
Hello students. I hope you’ve brought your thinking caps on today. Well actually, the topic today is quite simple, it’s simplicity. You can pack away your brains for a bit.
Simplicity can have one of two meanings when it comes to photography. It can be about your composition or about your subject matter. The information I’m sharing today is relevant to both.
Simplicity sounds easy to capture, doesn’t it? It should be {and will be if you keep the tips below in mind, and give it a little practice}. When we’re sharing online, particularly on Instgram and Facebook, we have such a small canvas to make an impact. Keeping it simple is such a key technique for stopping people from scrolling past your photo, or just making your photos a little bit more magic. By clearing some clutter, moving around a little and simplifying your photo you can really make a difference.
Tip One
Be aware. When you’re taking your photo be really aware of the whole photo, not just the subject you’re shooting. Say you’re shooting a tree in a landscape. Look around. Can you capture the photo by moving a little to the left or the right and avoid capturing other trees as well? One tree can really make an impact, but if you’ve got other items in the shot… it can be distracting.
Tip Two
Zoom in. Say you want to capture a piece of fruit, so you’ve headed straight to your fruit bowl to take a photo. You could just snap away and capture the whole thing, the bowl, the bench, the other pieces of fruit around your subject matter. But what if you zoomed in {either with your lens or by moving your phone/camera closer to the subject matter} and eliminated the distractions? Simple.

photo credit: JLM Photography.
Tip Three
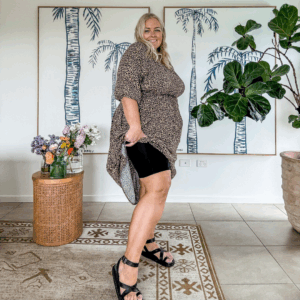
Change your backdrop. Say you’re taking a photo of a person, instead of photographing them in the middle of where ever they are, why not move them to a clean, simple backdrop? This can change the whole look of a photo, and make sure the viewer’s eyes go straight to the person {instead of the background}. The same works when you’re trying to photograph still life objects too. I do this a lot for food photos.
Tip Four
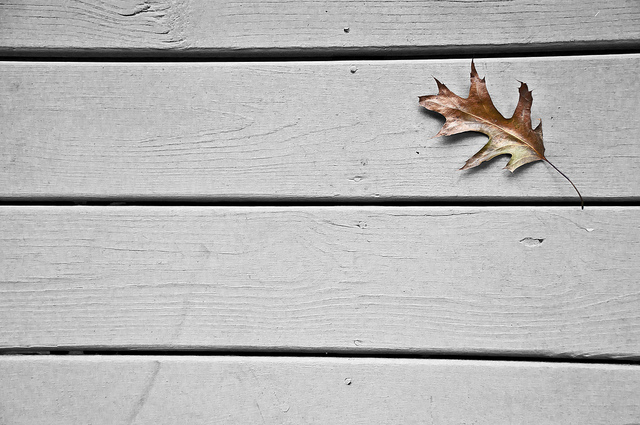
Experiment with negative space. A quick and easy way to simplify a photo is to play with negative space. We talked about it here a while back.


Great tips, thanks Chantelle. I will practice today with the photo challenge! 😀
I love this method of photography. I struggle with taking these photos so that they make a real impact.
Thankyou Chantelle I need all the tips I can get when it comes to photography I would love to get better at it x
I love the photography lessons. Thanks Chantelle!
such great ideas Chantelle, I’ll be adding these to my brain for sure
xx em
Yes, yes, yes and yes! Love these tips. Thank you so much.
I just love this…I find I appreciate the simple things much more when I spend time photographing them 🙂
Great tips, thumbs up!
http://www.facebook.com/designlit
http://www.twitter.com/designlit
http://instagram.com/designbelitup
http://pinterest.com/designlit
When it comes to simplicity… I think about things such as subject isolation and depth of field…. which usually boils down to aperture. In many cases, to isolate, I will shoot in aperture priority (for those that have this option) and at a lower aperture number (a lower number represents a wider lens ring opening to take in more light, but add more background blur. This type of photo will increase depth of field and add bokeh (blur) to non-focussed surroundings and place more emphasis on the subject. Lower aperture numbers also help to keep shutter speeds reasonably fast in low light situations and help to avoid camera shake anomalies as well as to blur the actual subject…. which is usually not desireable However, in some scenes you want to include the foreground or background and have the entire scene sharp, such as in dulled or low activity portraits where the entire scene is simplistic. In this case you can increase the aperture number to bring more of the scene into focus. Unless you are using a flash though, you will want to keep an eye on exposure readings and your shutter speed in lower light situations. If you are intent on capturing a low light scene without a flash and at shutter speeds slower than 1/60 of a second, then a tripod comes in handy for this. Hope the info helps. Cheers!
Thank You so much 🙂