
I love candy coloured photos. They’re fun and surreal and a little bit arty. Earlier this year I discovered a talented guy named Matt Crump is turning the world candy-coloured through his photos. Here’s a few from his feed that he’s taken lately.
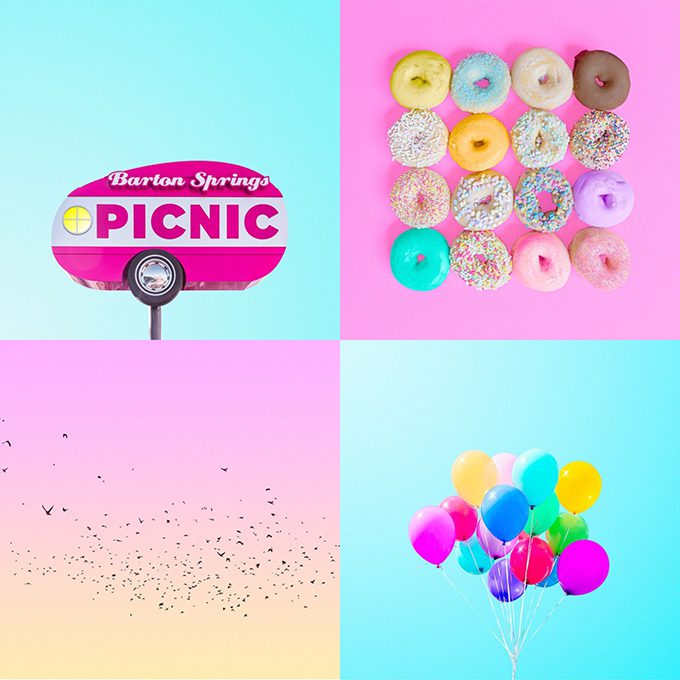
Talented, right?
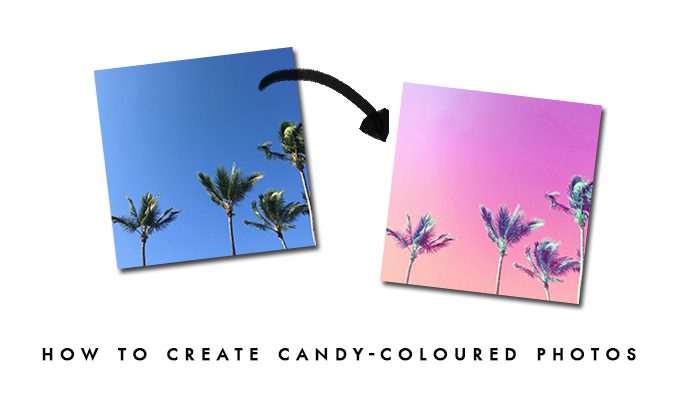
Not long after I discovered Matt, I wrote a post sharing how you can make your own photos candy-coloured {i.e. bright and a little bit non-realistic}. You can read that post here.
Lots of people have been sharing their own candy photos using that guide. Here’s a few:

Since writing that post, I’ve found an even simpler way to make candy-coloured photos. It’s pretty much one step and I like the colours even more. It’s just easy! And not to mention fun. I bought the Rhonna Designs Magic App and discovered it has a candy option.

1. Upload your photo
2. Crop it
3. Click Add Layer > Click Candy and choose which filter you like best
4. When you’re done, click the X
5. Click Options > Share > Original > Save Image
You’re done! You can then edit it in the Little Moments App to make it lighter, bright or put a filter over it. It’s fun to play around.

BEFORE

AFTER
If you try it, share your photos on Instagram using the hashtag #FMScandy so I can see them. Looking forward to seeing your pics! x

Sooo proud to see one of my photo on your blog!!!
Thank you Chantelle!!!
Unfortunatelly, the magic app is not available on google play, for now. (But the “classic” app is!)
Thank you for taking an amazing photo! xx
Ooh thanks for sharing, I’ll deffo check out that out!
I hope you have fun. 🙂
Thanks for sharing, I will try it out
Have fun with it. 🙂
Awesome! So much easier. Thanks for sharing 🙂
Ai @ Sakura Haruka
These look cool! I’ll be giving it a go for sure! x
Just did my first one – loving it!!!
Thanks so much for introducing me to this app! I use the other Rhonna app but hadn’t discovered this one and what a beautiful way to add a few extra pops of colour. xx
Hi! How come I cannot see the Add Layer option?
A little pink in every day makes it happier I reckon!
I just love candy photos. I even spy a couple of mine in the collage above 😉 thanks lovely. Jx
Wow, so easy and so fun!
Oh so cool – thank you! 🙂